Luxury Vinyl Planks (LVP) have rapidly become a favorite choice for homeowners seeking a combination of durability, aesthetic appeal, and ease of installation. Whether you want to replicate the look of hardwood, stone, or tile, LVP offers a versatile and budget-friendly alternative. In this comprehensive guide, we’ll walk you through the process of installing LVP, ensuring you achieve a professional finish.
Why Choose Luxury Vinyl Planks?
Before delving into the installation process, let’s understand why LVP is an excellent flooring option:
- Durability: LVP is resistant to scratches, dents, and moisture, making it ideal for high-traffic areas and wet spaces like kitchens and bathrooms.
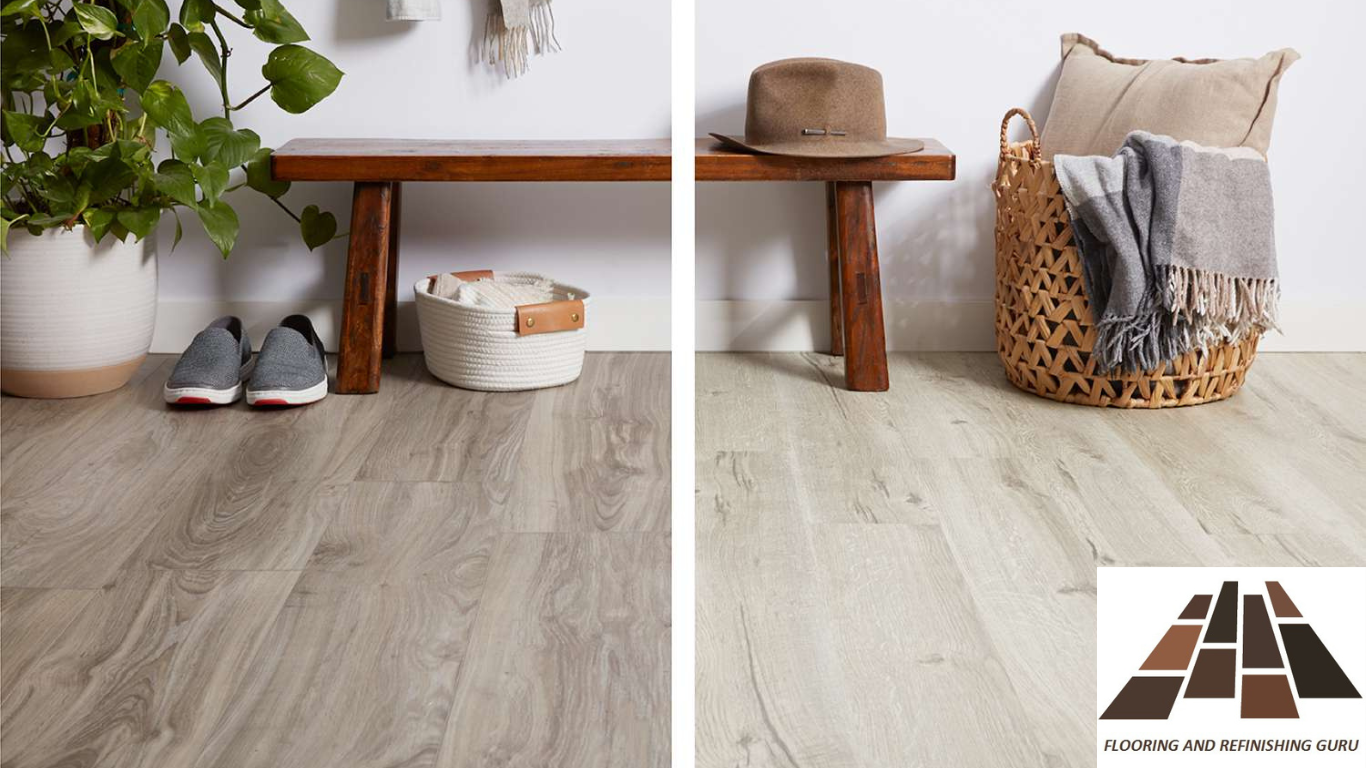
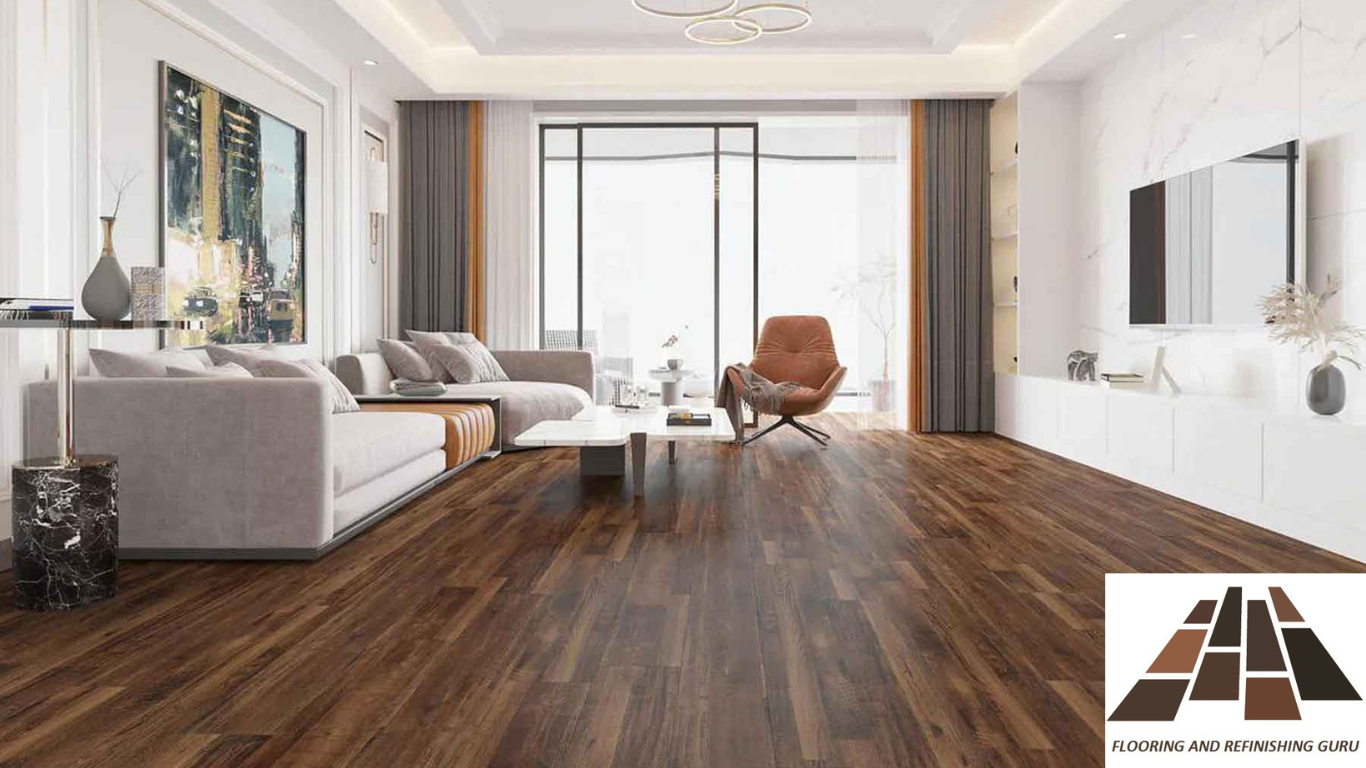
- Aesthetic Variety: Available in numerous styles, colors, and textures, LVP can mimic natural wood, stone, and tile, providing a luxurious look at a fraction of the cost.
- Comfort: LVP is softer underfoot compared to hardwood or tile, providing more comfort and reducing noise.
- Easy Maintenance: Cleaning LVP is simple with regular sweeping and occasional mopping.
Tools and Materials Needed
For a smooth installation, gather the following tools and materials:
- Measuring tape
- Utility knife
- Straight edge or T-square
- Chalk line
- Spacers
- Rubber mallet
- Pull bar
- Tapping block
- Underlayment (if required)
- Safety goggles and gloves
Preparing the Subfloor
A well-prepared subfloor is crucial for a successful LVP installation. Ensure the subfloor is clean, dry, and level.
- Remove Existing Flooring: If replacing old flooring, remove it completely and clean the subfloor.
- Level the Subfloor: Use a level to check for uneven spots. Sand down high areas and fill low spots with a leveling compound.
- Clean the Subfloor: Sweep and vacuum the subfloor to remove all dust and debris.
Installing Luxury Vinyl Planks
Now that your subfloor is ready, let’s move on to the installation process.
Step 1: Acclimate the Planks
Allow the LVP to acclimate in the room where it will be installed for at least 48 hours. This helps the planks adjust to the room’s temperature and humidity, preventing expansion or contraction after installation.
Step 2: Plan Your Layout
Measure the room and plan the layout of the planks. Use a chalk line to mark a straight line down the center of the room. This will serve as your guide.
Step 3: Install the Underlayment
If your LVP requires underlayment, roll it out over the subfloor, making sure it covers the entire area. Some LVP products come with an attached underlayment, in which case this step can be skipped.
Step 4: Lay the First Row
Start from one corner of the room, laying the first plank with the tongue side facing the wall. Use spacers to maintain a 1/4-inch gap between the planks and the wall to allow for expansion. Continue laying the first row, cutting the last plank to fit if necessary.
Step 5: Continue Laying Planks
Stagger the seams by starting each new row with a plank cut to a different length. This not only enhances the floor’s stability but also gives it a more natural look. Connect the planks using the click-lock system, ensuring they fit tightly together by tapping them gently with a rubber mallet and tapping block.
Step 6: Cut Around Obstacles
When you encounter doorways, vents, or other obstacles, measure and cut the planks accordingly. Use a utility knife and straight edge for precise cuts.
Step 7: Finish the Installation
Once all planks are laid, remove the spacers and install the baseboards and trim to cover the expansion gaps. If your LVP is installed in a bathroom or kitchen, consider applying a silicone caulk around the perimeter for additional moisture protection.
Maintenance Tips
To keep your LVP flooring looking pristine, follow these maintenance tips:
- Regular Cleaning: Sweep or vacuum regularly to remove dirt and debris. Use a damp mop with a mild cleaner for deeper cleaning.
- Protective Measures: Place felt pads under furniture legs to prevent scratches. Use rugs or mats in high-traffic areas.
- Avoid Harsh Chemicals: Avoid using abrasive cleaners or harsh chemicals that can damage the floor’s surface.
Final Thoughts
Installing Luxury Vinyl Planks is a rewarding DIY project that can dramatically transform your home’s appearance. With their durability, aesthetic appeal, and ease of maintenance, LVP flooring is an excellent investment for any space. By following these detailed steps and seeking advice from a flooring and refinishing guru, you can achieve a professional-looking installation that enhances the beauty and value of your home.