Updating your home with new ground surface can emphatically upgrade its tasteful allure and usefulness. Among the most famous decisions are overlay and wood flooring, each offering interesting advantages and difficulties. In this aide, we’ll investigate the bit by bit course of introducing the two kinds of ground surface to assist you with accomplishing proficient looking outcomes. Upgrade your home with laminate and wood flooring. Follow our expert guide to install and refinish for stunning, durable results.
Why Choose Laminate and Wood Flooring?
Before diving into the installation process, it’s essential to understand why laminate and wood flooring are excellent choices for any home:
Tasteful Allure: Both cover and wood flooring add an immortal, rich shift focus over to any room.
Strength: These deck types are worked to endure weighty pedestrian activity and keep going for quite a long time.
Support: They are generally simple to clean and keep up with contrasted with rug or tile.
Assortment: a great many styles, varieties, and completions are accessible to match any stylistic theme.
Apparatuses and Materials Required
For both overlay and wood flooring, you will require:
Estimating tape
Chalk line
Utility blade
Spacers
Elastic hammer
Pull bar
Tapping block
Underlayment (for overlay)
Dampness obstruction (for wood)
Roundabout saw or miter saw
Wellbeing goggles and gloves
Setting up the Subfloor
Readiness is critical to an effective establishment. Whether you’re introducing overlay or wood flooring, the subfloor should be spotless, dry, and level.
Eliminate Existing Ground surface: Begin by eliminating any old floor covering, tile, or overlay. Guarantee the subfloor is liberated from garbage.
Check for Level: Utilize a level to guarantee the subfloor is even. Sand down high spots and fill low spots with an evening out compound.
Dampness Hindrance: Introduce a dampness boundary to forestall any potential water harm.
This step is particularly critical for wood flooring: laminate and wood
Introducing Overlay Deck
Overlay flooring is a well known decision for Do-It-Yourself devotees because of its clear establishment process.
Stage 1: Adjust the Ground surface
Permit the cover boards to adapt in the space for 48 hours to conform to the room’s temperature and dampness.
Stage 2: Introduce the Underlayment
Carry out the underlayment over the subfloor, guaranteeing it covers the whole region. This gives a padding impact and diminishes commotion.
Stage 3: Plan Your Format
Measure the room and plan the format of the boards. Begin from the left corner and work your direction towards the entryway. Use spacers to keep a 1/4-inch hole between the boards and the wall to take into consideration extension.
Stage 4: Lay the Main Column
Place the principal board with the tongue side confronting the wall. Keep laying the primary line, locking the boards together utilizing the snap and-lock framework. Slice the last board to fit if fundamental.
Stage 5: Keep Laying Lines
Stun the creases by beginning each new line with a board slice to an alternate length. This upgrades the floor’s soundness and tasteful allure. Utilize the tapping block and elastic hammer to guarantee tight joints.
Stage 6: Finish the Establishment
When all boards are laid, eliminate the spacers and introduce the baseboards and trim to cover the development holes.

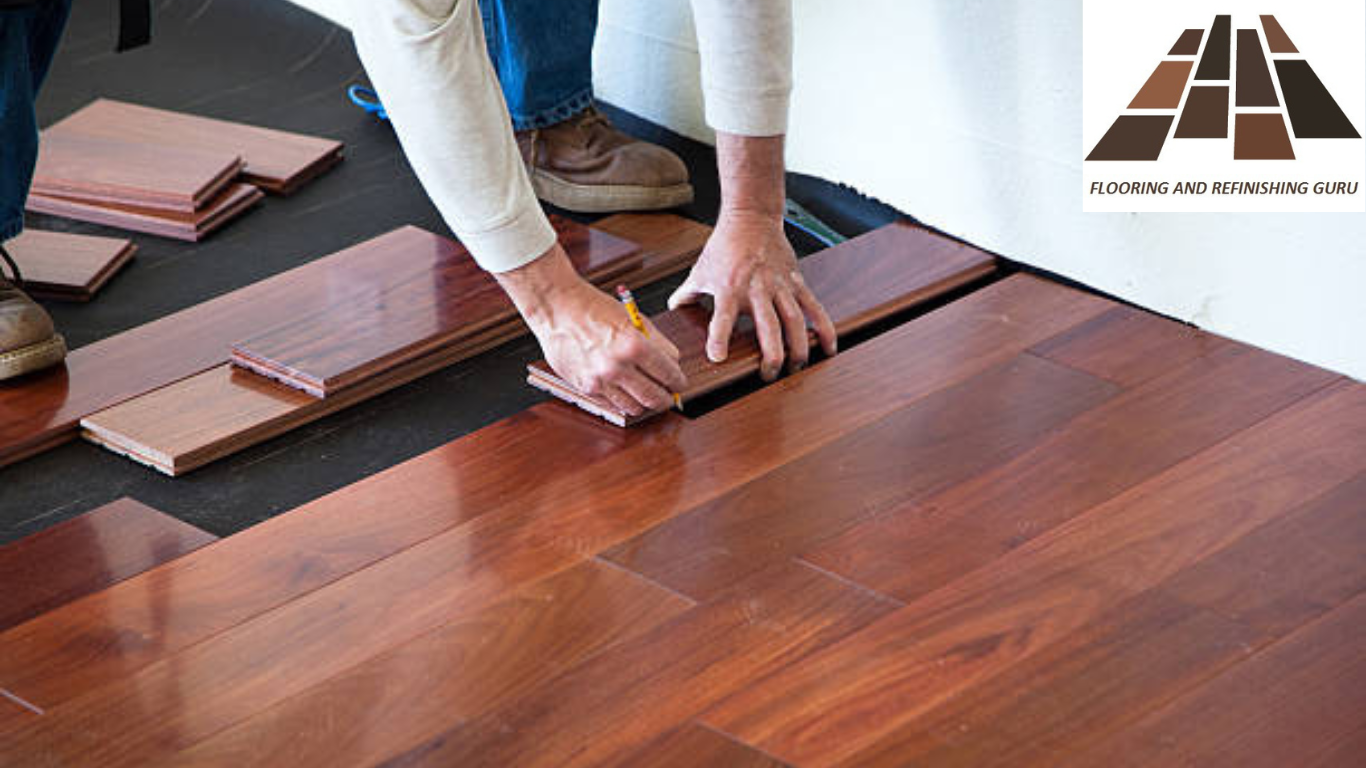
Introducing Wood Deck
Wood flooring requires more accuracy yet offers unrivaled magnificence and solidness.
Stage 1: Adjust the Wood
Like cover, permit the wood boards to adapt in the space for no less than 72 hours.
Stage 2: Introduce the Dampness Hindrance
Set out the dampness hindrance, covering the edges to guarantee total inclusion.
Stage 3: Plan Your Design
Measure the room and snap a chalk line to use as an aide for the main column of boards. Plan to begin along the longest, straightest wall.
Stage 4: Lay the Primary Column
Lay the primary column of boards with the tongue side confronting the wall, utilizing spacers to keep a 3/4-inch extension hole. Secure the boards with a nailer or glue, contingent upon the kind of wood flooring.
Stage 5: Keep Laying Columns
Stun the creases by cutting the beginning board of each new line to an alternate length. Utilize a tapping block and hammer to guarantee the boards fit cozily together. For hardwood, guarantee each board is nailed safely.
Stage 6: Finish the Establishment
When all boards are laid, eliminate the spacers and introduce the baseboards and trim to cover the extension holes. Sand and finish the wood flooring if necessary, applying a sealant for added insurance.
Last Contemplations
Installing laminate and wood flooring can be a rewarding DIY project that transforms your home. With the right tools, materials, and careful attention to detail, you can achieve a professional-looking finish that will enhance your home’s beauty and value for years to come.
Whether you lean toward the simple establishment of overlay or the immortal tastefulness of wood, following these means will assist you with making a shocking new floor that you can be glad for. With the guidance of a flooring and refinishing guru, you can ensure every step is executed with precision and expertise. Blissful deck!